
Painting service
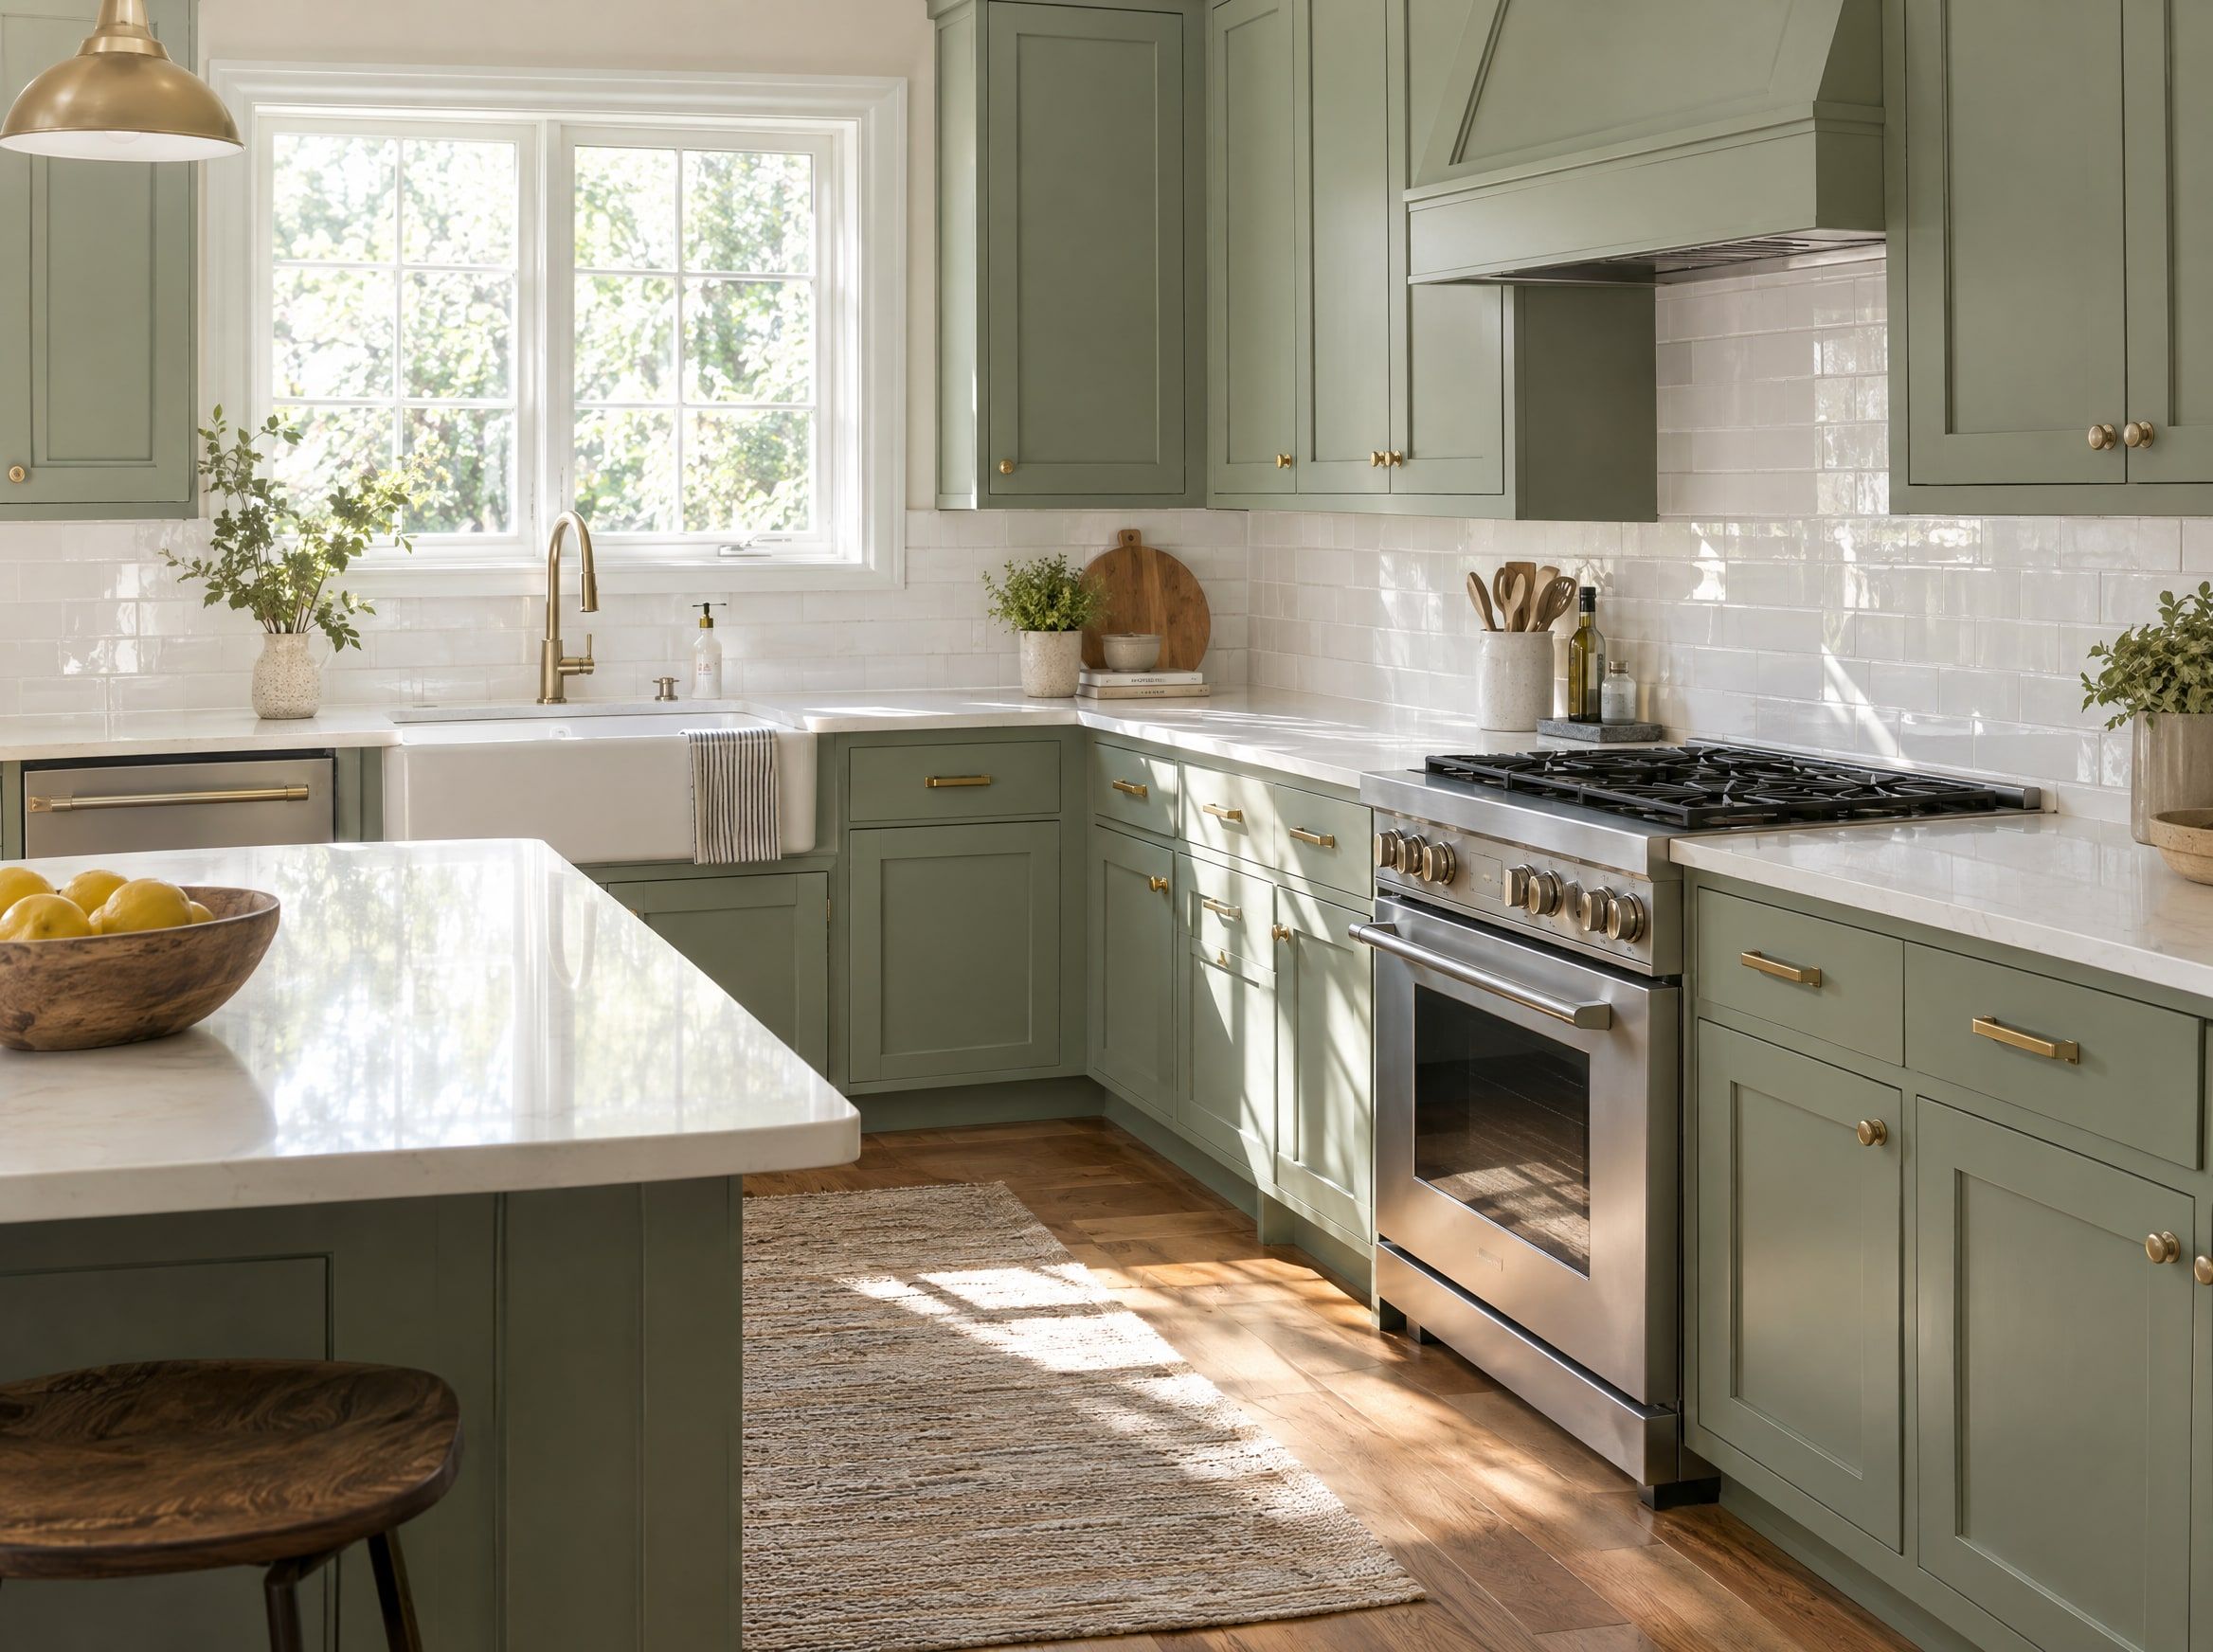
Cabinet Refinishing in Maynard, MA
A factory-smooth finish on your existing cabinets for a fraction of new.

Cabinet Refinishing
New-looking cabinets without a new kitchen
If your cabinet boxes are solid, refinishing gives you a completely different kitchen at a fraction of the cost and time of replacement. Doors and drawer fronts are removed, cleaned, degreased and sanded before any coating goes on.
We use bonding primers and hard-wearing cabinet enamels that are sprayed for a smooth, brush-free finish. New hardware is easy to add while the doors are off.
Open every door before deciding to refinish. Sound boxes and useful storage favor keeping the cabinets; swollen panels, failed joints, or an impractical arrangement suggest a broader scope. Paint changes appearance while leaving the kitchen’s underlying design in place.
Cabinet refinishing is more demanding than painting an ordinary wall because hands, cooking residue, water, and repeated door movement all test the finish. The areas beside pulls and above the range deserve particular attention. A successful project depends on removing contamination, preparing the existing coating, selecting a compatible primer, and applying a finish designed for cabinetry. Skipping an early step can undermine everything applied afterward.
Pro House Painters & Home Improvement has served homeowners since 2016 from its Maynard base, covering nearby MetroWest towns within about 15 miles. The free written estimate should address grain, colors, hardware, door handling, and kitchen access together because those choices affect the entire sequence.
Start with a close-up reference showing the texture you want. Decide whether oak grain can remain visible, cabinet interiors need painting, and hinges will stay. These choices distinguish a color refresh from cabinet restoration or a broader kitchen remodeling project.
What’s included
- Kitchen, bathroom and built-in cabinets
- Deep degreasing and sanding
- Bonding primer and sprayed enamel topcoats
- Two-tone and island accent colors
- Hardware swap and hinge adjustment
- Kitchen stays usable during most of the job
Smooth sprayed finish
No brush marks, no drips, a near-factory look.
Big savings
Keep the cabinets you have and change how they look.
Faster than replacing
Days instead of weeks without a working kitchen.
Pricing
How much does cabinet refinishing cost?
Cabinet work is priced per kitchen in the table below, with size and complexity shaping the final proposal. Compare door counts alongside the preparation and finishing scope rather than treating every door as equivalent.
| Service | Price | Typical projects |
|---|---|---|
| Cabinet Refinishing | Priced per kitchen |
|
Typical ranges, not quotes. Every home is different, so your free written estimate gives the exact price.
Door, drawer, and panel inventory
A kitchen includes more than its most visible doors: drawer fronts, island ends, exposed sides, and decorative trim also require attention. Detailed profiles and many small components can involve more handling than a simpler layout with a similar footprint.
Grease and existing coating condition
Cooking residue, waxy cleaners, and poorly attached earlier paint can require additional cleaning or coating removal. A finish that looks merely dull may still be suitable, while one that is peeling needs a different preparation plan.
Grain filling and surface repairs
Leaving oak texture visible involves different work from attempting a much smoother appearance. Filling grain, repairing dents, and checking those repairs under primer add stages that should be included explicitly in the estimate.
Color layout and finish selection
An island accent, contrasting upper cabinets, or separate interior colors create more masking and material handling. The specified primer and cabinet enamel also affect the application sequence and waiting periods between stages.
Hardware and hinge changes
Replacing a pull with one that fits the existing holes is simpler than changing its spacing or position. Hinge conversions, damaged screw holes, and door alignment issues should be evaluated before anyone assumes the new hardware will fit.
Work location and kitchen access
The proposal should explain where removable parts will be finished and how the stationary boxes will be protected. Containment, transport if applicable, and phased access around cooking needs all influence the amount of setup and handling required.
Refinish Or Replace
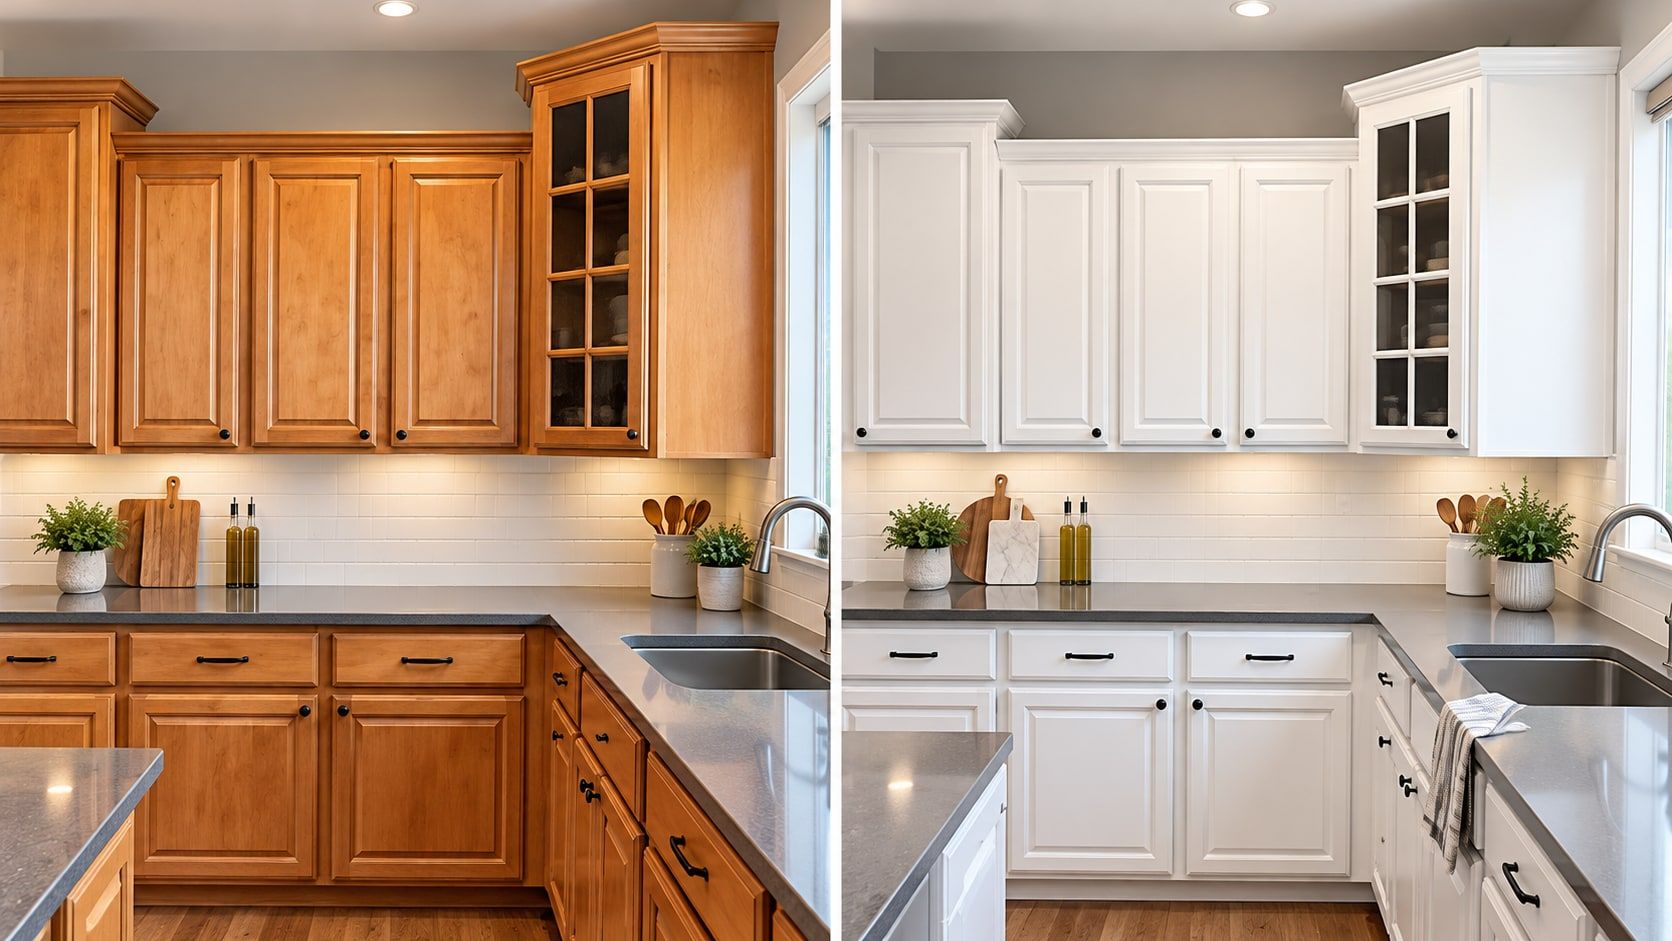
Recognize the limits of a cabinet coating
Refinishing makes the most sense when the cabinet structure deserves to stay. Inspect the sink base for water damage, check that face frames remain attached, and look for doors that bind because something has shifted. Minor cosmetic wear can often be addressed during preparation. A crumbling substrate or a failed cabinet box calls for repair or replacement decisions before choosing a paint color.
Material matters as much as condition. Solid wood, wood veneer, laminate, and thermofoil do not all respond to preparation in the same way. Thin veneer can be damaged by aggressive sanding, while a peeling thermofoil skin is not stabilized simply by painting over it. Ask the refinisher to identify the surface and describe its suitability rather than relying on a promise that any cabinet can be coated.
The typical DIY shortcut is to remove the doors and start sanding before thoroughly cleaning them. That can spread oily residue across the surface instead of removing it. Another is using leftover wall paint because the color already matches. Cabinet surfaces need a suitable coating system and controlled application, especially at edges, profiles, and contact points where a weak layer becomes apparent quickly.
A professional assessment is also useful when the desired appearance differs sharply from the original cabinet construction. Paint may reduce color contrast in oak without hiding its pores, and a repaired hinge hole may remain a demanding detail under a smooth finish. Agree on a representative sample and realistic texture expectations. The purpose is to know what you are buying before the entire kitchen is committed.
Check whether the existing kitchen is a good candidate
- Confirm that cabinet boxes and face frames remain structurally sound
- Look for swollen material around sinks and dishwashers
- Identify veneer, laminate, thermofoil, or solid wood surfaces
- Separate cosmetic wear from damaged or failing components
- Decide whether the current storage and layout still meet your needs
Adhesion First
Follow the preparation from cleaning to primer
Good organization begins before the first hinge is loosened. Doors, drawer fronts, and their hardware need a labeling system so components return to the correct openings. Discuss whether drawers themselves will be removed and where their contents should go. The plan should also distinguish painted exterior faces from cabinet interiors, shelves, and other areas that are excluded or priced separately.
Cleaning should remove cooking oils and household residues with a method suitable for the surface and coating system. Cleaner residue also needs attention; the next layer must meet a clean, properly prepared substrate. After drying, appropriate sanding or deglossing gives the specified primer the surface it needs. Dust removal then matters just as much as the sanding, since particles can interfere with both appearance and adhesion.
Primer selection solves a specific problem rather than serving as an interchangeable white undercoat. Some surfaces need additional bonding, some wood species can bleed discoloration, and some existing finishes need compatibility testing. A sample area can reveal whether the proposed system behaves properly before full production. Grain filler, where included, needs its own preparation and inspection sequence rather than an assumption that finish coats will bury the texture.
The age of the home and cabinets also matters before old coatings are disturbed. For covered renovations involving pre-1978 housing, the EPA lead renovation program sets requirements for work that disturbs lead-based paint, subject to its applicability rules. Ask about the relevant Massachusetts requirements as well. Routine refinishing should never be described as lead removal unless that separate scope and its requirements have actually been established.
Preparation checkpoints for a cabinet estimate
- Number removable parts and map their original positions
- Define whether cabinet interiors and shelves receive a finish
- Remove grease and residues before abrading surfaces
- Specify the primer’s bonding or stain-blocking purpose
- Inspect grain filling and repairs before topcoats begin

Application Choices
Understand sprayed finishes, products, and hardware
Spraying can create an even finish across cabinet profiles, but the equipment alone does not guarantee a smooth result. Preparation, dust control, application technique, and the coating’s leveling behavior remain essential. Heavy passes can leave runs or overloaded edges, while insufficient material can produce an uneven appearance. Ask how the contractor will inspect both the broad face and the narrow edges of each component.
Brushing and rolling can be appropriate for some situations, though they leave a different surface texture from a carefully sprayed coating. The estimate should identify the method for stationary boxes and removable parts separately. Spraying boxes in an occupied kitchen requires a clear masking and ventilation plan. Adjacent appliances, counters, floors, openings, and belongings all need consideration before that work begins.
Sherwin-Williams and Benjamin Moore both make coatings intended for demanding woodwork applications. Review the manufacturer information for Emerald Urethane Trim Enamel and Benjamin Moore ADVANCE when discussing product options. Their names do not make their preparation, recoating, or curing instructions interchangeable. The written specification should name the actual primer, finish product, color, and sheen selected for your cabinets.
Choose hardware before the final coating stages so hole changes can be completed and inspected first. A pull with a different mounting distance can require filling old holes and drilling new ones; an enlarged backplate may conceal an old mark but still changes the appearance. Check hinge compatibility and clearance too. New handles do not solve a door that rubs against a neighboring front or closes out of alignment.
Finish selections to approve before application
- A sample showing the accepted sheen and visible grain
- The method used on doors versus fixed cabinet frames
- Named primer and enamel products with compatible instructions
- Final pull spacing, hinge style, and any hole repairs
- Masking boundaries around appliances and adjoining surfaces
Cure And Care
Plan kitchen use around the coating’s actual readiness
Ask where door finishing will happen rather than assuming all contractors use the same arrangement. Doors may be handled separately on site or transported elsewhere under an agreed plan. Each arrangement needs suitable labeling, protection, drying space, and careful handling. Confirm how the fronts and backs will be coated and what conditions determine when the parts are ready to transport or reinstall.
Dry to the touch does not mean ready for unrestricted kitchen use. A coating may be ready for careful handling or rehanging while it continues developing hardness. Recoat intervals and full cure times vary with the selected product, temperature, humidity, and application. Obtain care instructions tied to that product rather than relying on a universal number of days for every cabinet paint.
Plan for periods when cooking or appliance access is restricted, especially during preparation and coating of the fixed boxes. Remove food, countertop items, and necessary utensils from the affected area ahead of time. Ask when the sink, range, and drawers can be used again. A kitchen may be partly accessible during the project without being ready for normal meal preparation at every stage.
Long-term durability depends on the substrate, preparation, coating, and daily treatment, so a precise lifespan cannot be promised for every kitchen. Keep water from standing at sink edges and do not let greasy residue accumulate around pulls. After the manufacturer permits cleaning, use a soft cloth and an approved mild method. Address binding hinges and missing bumpers promptly so repeated contact does not wear away the finish.
Protect the new coating during ordinary use
- Follow the product-specific timeline for handling and washing
- Open doors by the hardware instead of pulling coated edges
- Wipe splashes without leaving wet cloths against the finish
- Avoid abrasive pads and unapproved solvent cleaners
- Correct rubbing doors and damaged bumpers before wear spreads

Estimate Review
Hire with a component list and a clear acceptance plan
Count the included components: doors, drawer fronts, exposed panels, island faces, molding, and any interior areas. Record repairs and hardware changes beside the coating specification. Grain filling also belongs on that list; a proposal leaving pores visible describes a different result from one including extensive smoothing.
Ask how discoveries after cleaning will be assessed and priced. Loose veneer, old repairs, and weak underlying paint may emerge during preparation. Agree on written approval for added work, and discuss the effect of changing an accepted color or sheen after materials have been ordered.
Request insurance documentation and read the coverage terms before choosing a start date. For Pro House Painters, the estimate can include a certificate showing liability insurance and workers’ compensation coverage for the work. Its 2-year workmanship warranty applies to painting with the published limitations for workmanship-caused peeling, blistering, and chipping. Discuss any cabinet-specific coverage questions directly instead of assuming the warranty covers impact damage, water exposure, or every future surface change.
Before final acceptance, inspect the coating in normal kitchen light and carefully check alignment, drawer operation, and hardware placement as the product instructions allow. Record corrections and save the coating specifications. Request the free written estimate through the contact page or (978) 440-2251, with photos and an approximate component count.
Questions that make cabinet proposals comparable
- Which faces, interiors, trim pieces, and panels are included?
- Will the approved sample show visible wood grain?
- Where are doors finished, and how are they protected?
- What limits kitchen access during each stage of the job?
- What care instructions and coverage documents will I receive?
Google reviews
What our customers say
“I hired Pro House Painters to paint our aluminum siding colonial home. They worked very hard to prep the house (power wash) and then paint the house, trim and shutters. They did a truly wonderful job. They were neat, were super careful with all of my plants and flowers (I have a lot) and the crew was super nice! The house looks tremendous! …”
“Rodrigo and his crew were a pleasure to deal with - very courteous, neat, friendly, and professional. They painted six rooms, two of which needed skim coating, a stairwell, and three ceilings, two of which needed repair, all for the price of $7429. Very highly recommended.”
“I am 83 years old and have hired many painters through the years. Pro House Painters rank Number 1 in my book! They recently painted my large deck and bannisters, my shed, and all the trim on my house. … Rodrigo responds immediately to texts and the crew shows up on time, as promised, and works diligently all day.”
How it works
Four steps, no surprises
The same careful process on every job, from a single room to a full exterior.
- 1
Free estimate
We walk the project with you, talk colors and send a clear written quote.
- 2
Prep & protect
Furniture, floors and landscaping covered. Surfaces cleaned, patched and sanded.
- 3
Expert application
Premium materials applied by an experienced crew, on schedule.
- 4
Final walkthrough
We inspect every room with you and touch up anything before we call it done.

Good to know
Peace of mind, savings and small jobs
FAQ
Cabinet Refinishing questions
Still have a question? Call or text us anytime.
How much does cabinet refinishing cost in Massachusetts?
The listed small-kitchen range is $2,500–$4,000 for 10–15 doors. An average kitchen with an island and 15–25 doors is $4,000–$6,500, while a large kitchen is $6,500–$10,000. Preparation, exposed panels, grain treatment, and hardware changes help determine where the specific project belongs.
Is it better to paint cabinets or replace them?
Consider refinishing when the structure and layout work well and the main concern is appearance. Replacement deserves consideration when boxes are damaged, storage is inadequate, or the layout must change. Compare the complete scope of each option, including what happens to counters, hardware, and adjoining finishes.
Can oak cabinets be painted without showing the grain?
Oak can receive an opaque color while its pores remain visible. A smoother look requires additional grain preparation, often involving filler and repeated inspection. Agree on a sample and the expected texture before approving the work, because paint alone does not erase deep grain.
Will professionally painted kitchen cabinets chip?
A properly prepared cabinet coating can resist everyday handling, but impacts, rubbing doors, and persistent moisture can still damage it. Poor adhesion creates a different problem from a localized dent or collision. Keep the installation adjusted and report unusual peeling early so its cause can be assessed.
How long does cabinet paint take to cure?
The exact curing period comes from the selected coating’s current instructions and the conditions during application. Being ready for another coat or careful reinstallation is different from reaching full hardness. Ask for written guidance on closing, cleaning, and normal use for your specific cabinet enamel.
Can I use my kitchen while cabinets are being refinished?
Some access may be possible between stages, but masking, cleaning, spraying, and drying can temporarily restrict the room. Arrange the project schedule around the appliances and storage you need. Do not assume the kitchen is safe for cooking simply because the cabinet doors have been removed.
Are cabinet doors painted off-site or at my house?
Confirm the finishing location in the estimate; removable pieces can be handled separately from the fixed boxes using different arrangements. Ask about labeling, transport if needed, protected drying space, and reinstallation readiness. The finishing location should be a stated project detail rather than an implied promise.
Is spraying cabinets better than brushing them?
A controlled spray application can produce a more uniform texture, particularly across detailed door profiles. Brushed or rolled surfaces have their own appearance and may suit particular access constraints. Compare the proposed methods using a sample, and ask how masking and ventilation will be managed for any spraying inside the home.
Can I change cabinet handles when the doors are refinished?
Choose replacement hardware early and compare its mounting measurements with the existing holes. Changes in spacing or position may require filling and drilling before the finish is applied. Bring an actual handle or its dimensions to the planning conversation so compatibility can be checked.
Do cabinet interiors have to be painted too?
Interior boxes and shelves can be discussed separately from the doors, drawer fronts, and visible frames. Leaving sound interiors unchanged can reduce the area needing preparation and coating. Specify the boundaries carefully, including door backs, so the final appearance and storage disruption match your expectations.
Does cabinet painting come with insurance and workmanship coverage?
Pro House Painters can provide an insurance certificate with the estimate documenting its liability and workers’ compensation coverage. Painting has a two-year limited workmanship warranty for specified failures caused by workmanship. Review the published terms and confirm how they apply to the proposed cabinet coating system before authorizing the project.
Service areas
Cabinet Refinishing near Maynard
We work in 43 towns within 15 miles. These are the closest.
Google reviews
More services
You might also need
Ready to start your cabinet refinishing project?
Free written estimates for homeowners within 15 miles of Maynard.